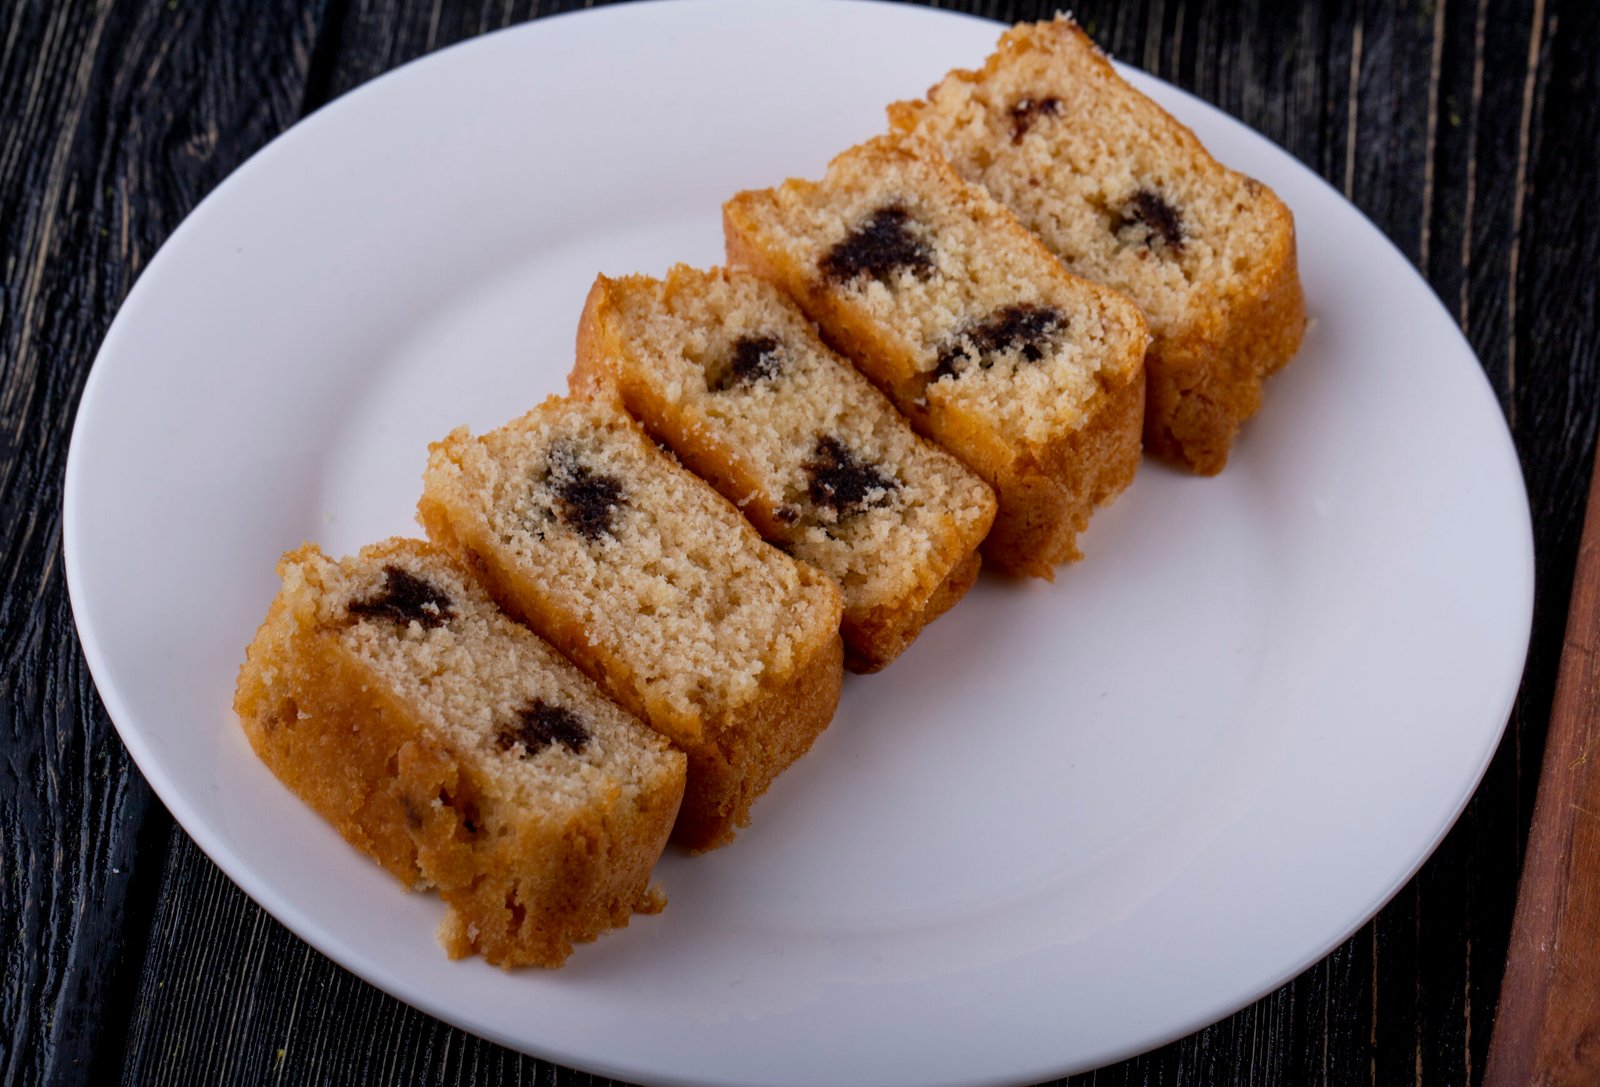
Quick and Easy Blondies – 5 Simple Steps to Chewy Goodness
Blondies made easy Enjoy delicious, buttery blondies in 5 simple steps with this quick recipe. Satisfy your sweet tooth in no time!
Why choose this Dish?
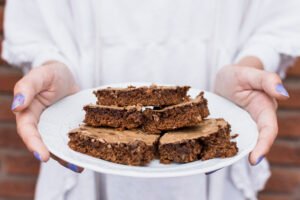
Blondies are the perfect choice when you want treats but don’t want to make cookies or anything else for treats. Blondies have a delicious buttery flavor and a beautiful look, making everyone appetizing. In addition, they’re versatile i.e. you can mix in anything like chocolate chips, nuts, or anything else from dry fruit. It’s like having a blank canvas for your sweet cravings!
Another great reason to choose blondies is their simplicity. You can quickly prepare it only with some simple ingredients and not much preparation time. They are simple to prepare just like sweet and easy snacks.
5 Simple Steps:
To make the delicious recipe, must follow these steps ;
Step 1: Gather Key Ingredients
Before we dive into the baking process, let’s gather all the ingredients you’ll need:
- Melted butter (1 cup)
- brown sugar (1 ½ cups)
- 2 eggs (medium-sized)
- vanilla extract (2 teaspoons)
- 2 cups (250g) all-purpose flour
- 1 teaspoon baking powder
- ½ teaspoon salt
- 1 cup (175g) chocolate chips (or your favorite mix-ins)
Start by preparing all your ingredients. To guarantee the ideal harmony of textures and tastes, measure each component carefully. Heat the oven to 350°F (175°C). After that, Grease a 9 x 13-inch baking dish for easy removal with parchment paper from the dish surface. These things are necessary to keep in mind to preparing an unappetizing Blondie dish.
Step 2: Combine the Wet Ingredients
In a large mixing bowl, combine the melted butter and light brown sugar. Mix until well combined and smooth. Add the eggs, one at a time, beating well after each addition. Stir in the vanilla extract. The mixture should be glossy and smooth, setting the foundation for your blondies. They are simple to prepare just like sweet and easy snacks.
Step 3: Add some Dry Ingredients: (if available)
Mix the flour, baking powder, and salt in another basin. Stirring until mixed completely, gradually add the dry ingredients to the wet mixture. Avoid over-mixing as this may result in dense blondies. There should be no visible flour traces and the mixture should be dense and thoroughly combined.
Step 4: Fold in the Extras
You can now personalize your blondies. Add the chocolate chips and any other desired mix-ins, including dry fruits, chocolate chips, and nuts. That is the simple way to give them a distinctive look.
Step 5: Perfectly Bake
Distribute the batter Equally in the dish after pouring it in it. The sides must be brown and a toothpick inserted in the center should come out with only a few moist crumbs after 25 to 30 minutes of baking in a preheated oven. To get the ideal chewiness, avoid over-baking, which will produce a fluffy appearance.
After baking, take the blondies out of the oven and allow them to cool on a rack made of wire in the pan. Once completely cool, cut into squares and enjoy!
you can also enjoy hot chocolate which is trending now.
Storing Homemade Blondies:
Keep your baked blondies in an airtight container at room temperature for 2 to 3 days. Or store them in the fridge for 2 weeks. You can also freeze them for up to 3 months! I like wrapping them individually so I can take one or two out of the freezer.
Conclusion:
This dish is perfect for satisfying your guests without spending many hours in the kitchen. With 5 steps and just a few ingredients, you can prepare a batch of this chewy, Delicious dish that will surely amuse everyone with its deliciousness. Give this recipe a try and share the joy of baking via its recipe with your friends and relatives.
FAQs:
You can store blondies at home in an airtight container or in the refrigerator by freezing them. Absolutely! Simply double the ingredients and use a larger baking dish. Adjust baking time as needed to prepare this in large quantities. Indeed, you can simply use gluten-free flour for this purpose. Avoid overbaking and ensure you measure your ingredients precisely, particularly the sugar and flour. How do I store blondies at home?
Can I double this recipe?
Can I make gluten-free blondies?
What’s the best way to achieve a chewy texture?

